
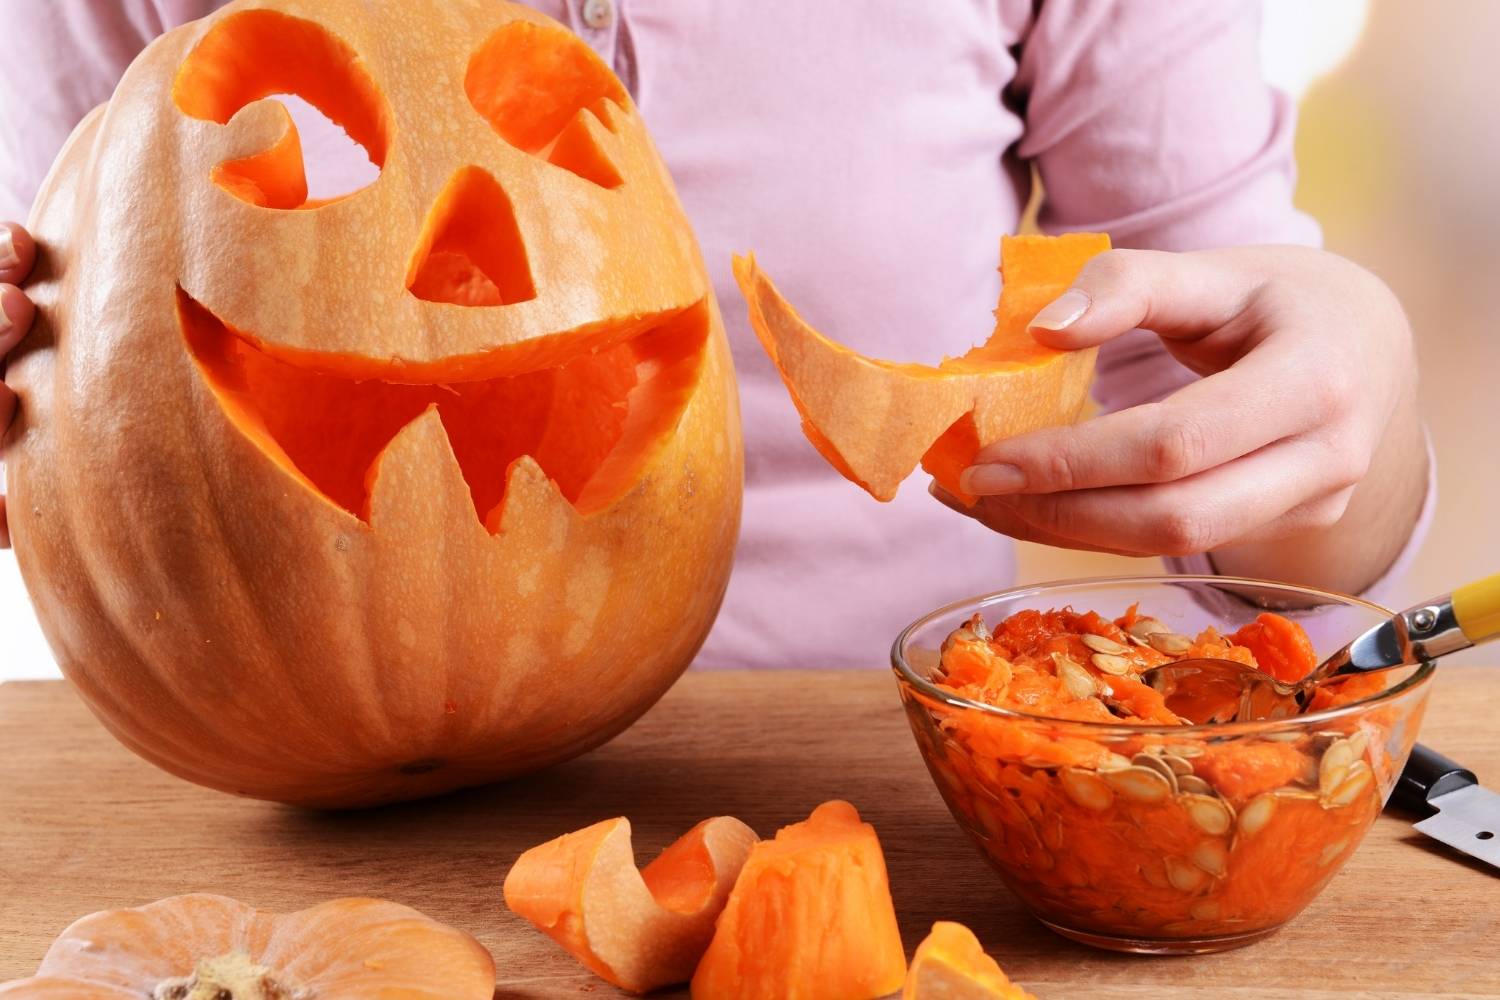
Halloween is approaching and, among decorations, costumes and sweets, there is a great classic that cannot be missed: the carved pumpkin. With its bright eyes and (more or less) scary smile, it is one of the most recognizable symbols of the October 31st anniversary.
Making one at home is simpler than you might think and can also become a fun activity to share with children, naturally leaving the task of using the knives to the adults. You don’t need professional tools, just a large enough pumpkin, some kitchen utensils and a little manual skills.
Let’s see how to empty it, carve it and decorate it step by step, without wasting the pulp and seeds
What you need to make a Halloween pumpkin
To prepare a pumpkin of great effect, obtain the following materials:
The steps to follow
@kobeza/123rf
- First, remove traces of dirt and dust with a damp cloth.
- Now trace a circumference with a radius of approximately 5 cm starting from the stem and start cutting to make the lid. The advice is not to make a perfectly vertical cut, but to tilt the tip of the knife towards the center so that the lid remains stationary. As an alternative to the classic circular cut, you can make a star-shaped one.
- Remove the pumpkin pulp, seeds and filaments, digging in with a spoon or the scoop used to serve ice cream. Scrape the inside of the pumpkin trying to clean it as much as possible to allow the candle light to filter through better. Naturally, put the pulp aside to prepare one of the delicious autumn recipes. And don’t throw away the seeds! You can save them and then sow them in spring in your vegetable garden or garden.
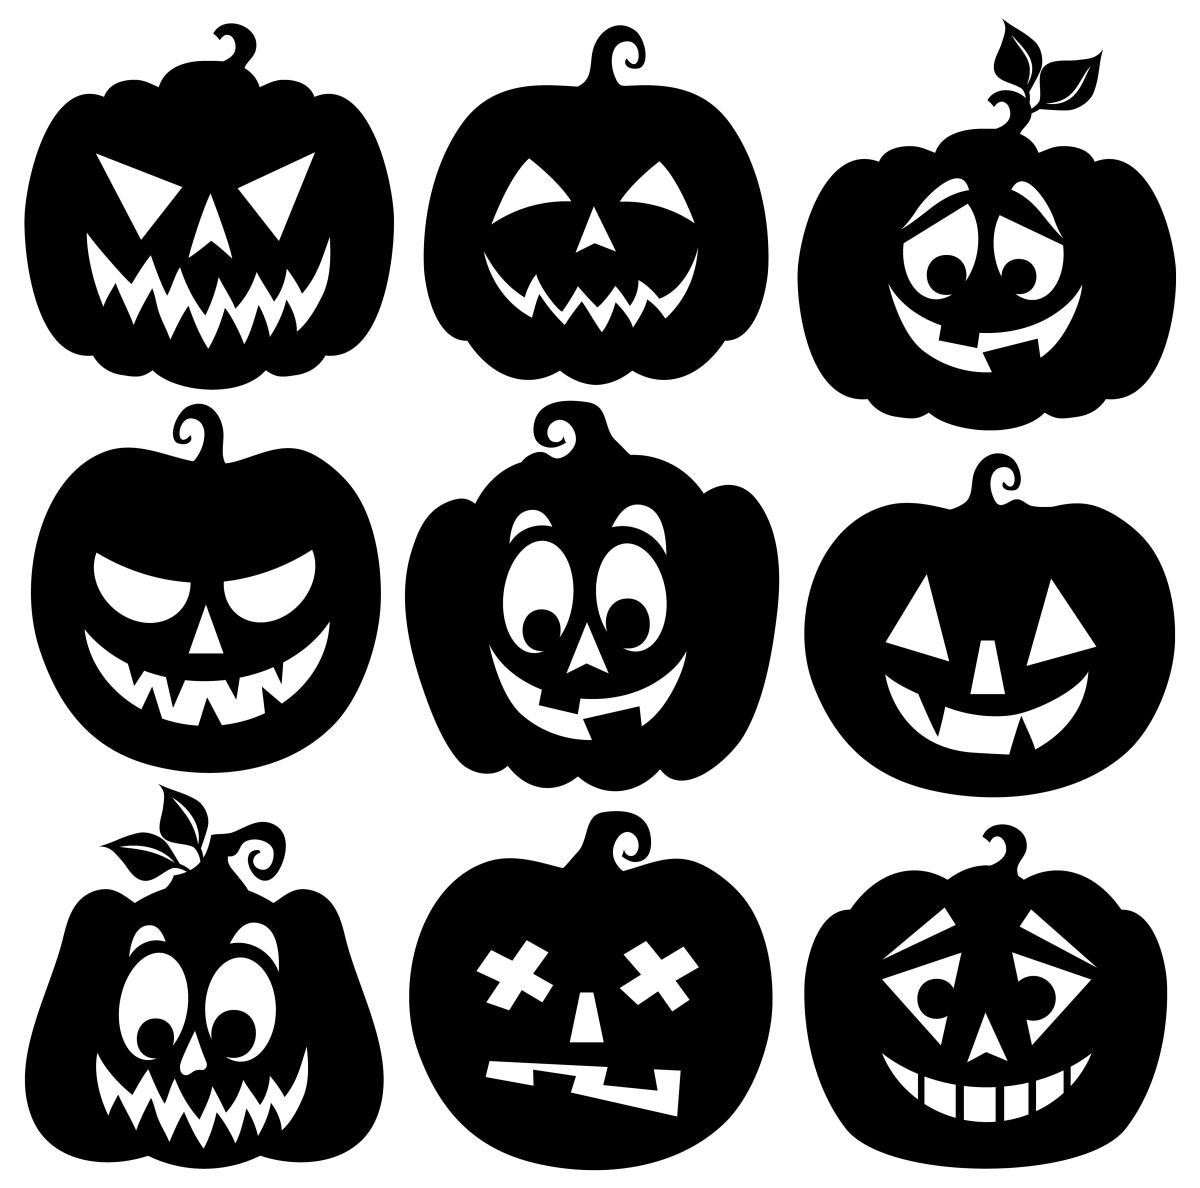
- Now it’s time to think about the face of your pumpkin. Online you can find myriads of ideas, from the funniest and happiest expressions to the most terrifying ones. Here are some:
@clairev/123rf
- We recommend using a pen or marker with a fine tip to trace the design. Start with the eyes, which are usually easier to draw than the mouth. If you prefer a creepier looking pumpkin, you can opt for triangular shaped eyes. If you want to make it more cheerful, make rounded eyes.
- For the nose, a simple triangle, not too large, is enough. Choose whether to make it taper upwards or downwards.
- The most difficult part is the mouth and teeth, which require more attention and patience. If you want your pumpkin to have lots of sharp teeth, use a smaller, sharper knife, being careful not to hurt yourself. Alternatively, you can opt for a simple smiling mouth.
- Once you have finished carving the pumpkin, remove any traces of pen or marker. 8. When the face is finished, you can clean off the remnants of the paint.
- Finally, insert a nice candle and close the pumpkin with the lid. Instead of candles, intermittent LED bulbs can be used. Now the Halloween party can begin!
How to keep carved pumpkins longer
Once cut and emptied, the pumpkin inevitably begins to deteriorate. Humidity, high temperatures and the presence of pulp residues can favor the appearance of mould, especially if it is kept indoors for several days.
To slow this process, it is important to thoroughly clean the inside and dry it as much as possible before inserting the light. Then place the pumpkin in a cool environment, away from direct sun and heat sources. If the outside temperature is mild, you can also display it on the balcony or near the entrance to the house, as long as it is protected from the rain.
It is better to avoid carving it too early: to have a decoration that is still beautiful on the evening of October 31st, the ideal is to prepare it one or two days before.
Check every day that no soft parts, bad odors or traces of mold appear. If the pumpkin begins to rot, it’s time to discard it. And remember: you don’t need to create a perfect face. Even a crooked smile or two eyes of different sizes can make your pumpkin original and fun. After all, this is precisely the beauty of handmade decorations.
