

As the Christmas holidays approach, we can make the wait more pleasant by creating a personalized Advent calendar, perfect for delighting our children or a special person with a small daily gift until Christmas Eve.
The Advent calendar has become a widespread trend: there are various types on the market, offered by different brands, especially those linked to the world of sweets or cosmetics. However, creating a DIY Advent calendar, tailor-made and full of little gifts chosen specifically for the recipient, is an even more fascinating idea.
We explain step by step how we created our homemade calendar, using exclusively recycled materials (with the exception of small gifts, of course!).
To build it we used:
As we said, it is a highly customizable calendar, and everyone can choose to give what is most appreciated by the person who will receive this Advent gift – the important thing is to choose 24 small gifts, which will be unwrapped from 1st to 24th December. However, if you have no idea what to pack, we share the list of objects we packed:
Procedure
- After having put aside a sufficient quantity of boxes of various shapes and sizes and having bought all the gifts, all that remains is to pack everything. We do some packaging tests to understand how to combine the various packages at our disposal with the different gifts (we have made a table to be more organised).
- We then use newspaper to wrap all 24 gifts. Even if it is a recycled paper that features writings and prints and not a “classic” wrapping paper, wrapping all the packages with the same type of paper will give our Advent calendar a sense of uniformity.
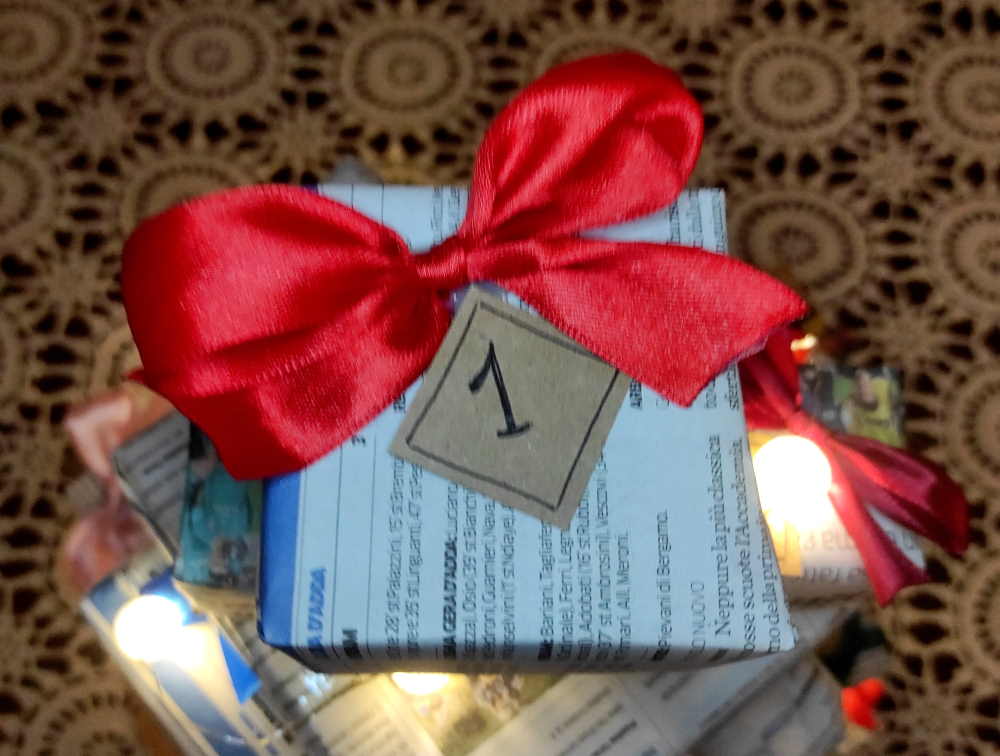
- Now let’s create 24 small cards with cardboard and write a number from 1 to 24 on each one: we will need them to assign each package to a day of the month.
- Using the pieces of ribbon, we make 24 small bows; we can also use colored wool threads or twine.
- Using glue, we attach a bow and a numbered ticket to each package.
- Our calendar packages are ready! All we have to do is create a sort of “tree” by arranging them in a more or less orderly manner on the cardboard tray. We create a wider base by placing the packages that will be opened later in December at the bottom, and we continue adding the packages backwards, until we place package number 1 on top. To avoid the risk of the packages falling, we can secure them together with small pieces of paper adhesive tape.
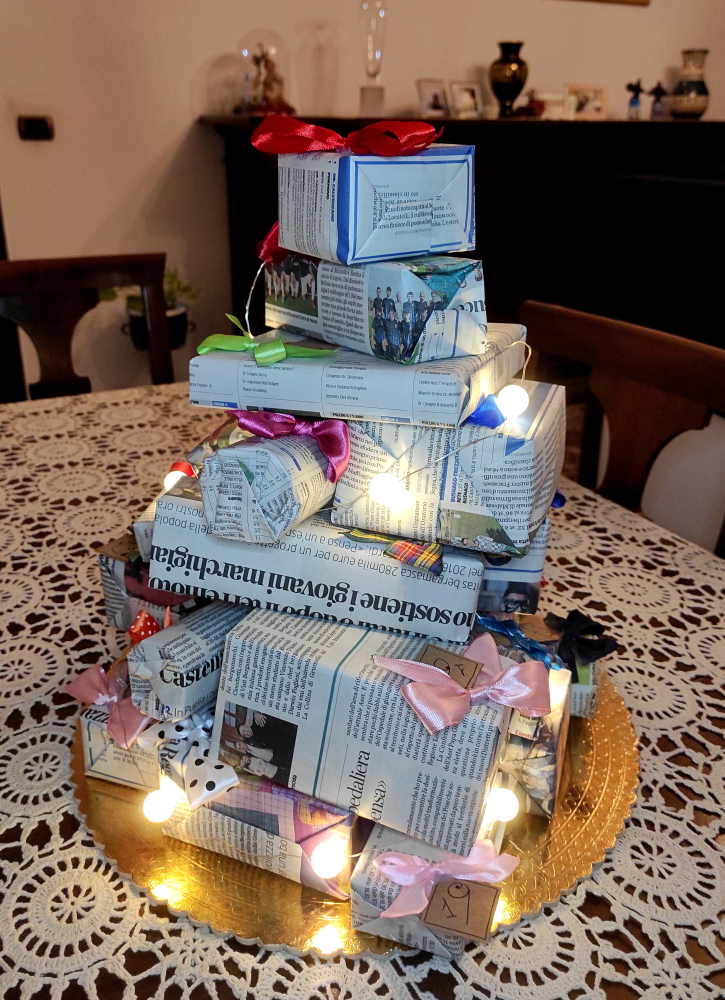
Our creative and sustainable Advent calendar is ready: in the photo you can see the final result. We enriched it by adding a small series of lights that we already had at home, but this is an optional step.
We also recommend:
