
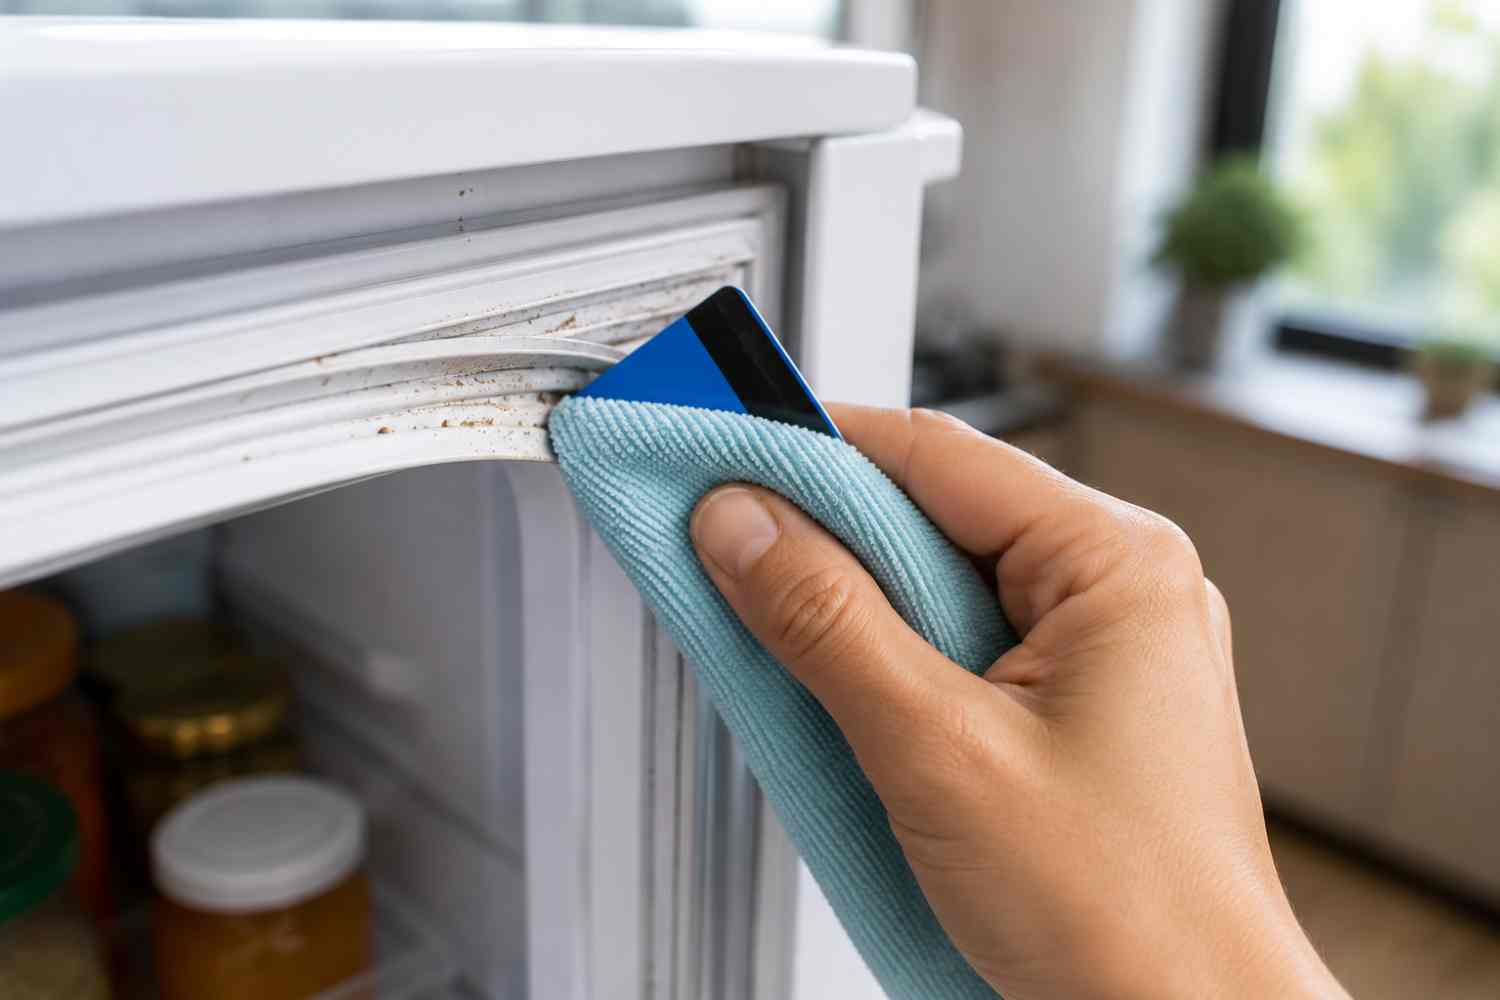
Refrigerator seals are among the most difficult parts to clean. Crumbs, dust, food residues and humidity accumulate in their grooves which, over time, can encourage the formation of mold and bad odors. To reach hidden dirt without damaging the rubber there is a simple and cost-free remedy: use an old credit card.
Because the seals get dirty easily
The folds of the seals easily trap dirt particles that often escape during normal cleaning of the refrigerator. Even by passing a cloth over the external surface, the most hidden residues tend to remain trapped in the cracks.
How often to clean them
It is not necessary to wait for the dirt to be visible to intervene. A quick cleaning every two weeks is enough to keep the seals in good condition, while a more thorough cleaning should be done at least once a month. Creating this little habit prevents the residue from hardening and becoming more difficult to remove.
How to use a credit card
Take an expired credit card or membership card and wrap it in a thin microfiber cloth. Then slide it gently along the grooves of the seals. The rigid thickness of the paper allows you to reach the most difficult places, while the cloth collects dirt and residues without scratching or ruining the rubber.
Other useful tools
For the most encrusted areas, an old toothbrush can make the difference: the soft bristles can get into the tightest creases without risking damaging the material. In really hard-to-reach places, a toothpick wrapped in a little cotton is a precise and effective tool for removing stubborn residue.
If mold is already present
When dark spots appear on the seals, it means that mold has already established itself. In this case, before proceeding with mechanical cleaning, it is useful to dab the affected areas with a solution of water and white vinegar in equal parts, or with a paste of bicarbonate and water. Leave to act for a few minutes, then remove with the toothbrush and proceed as usual. White vinegar has natural antibacterial properties and also helps eliminate bad odors.
The final step
After removing hidden dirt, wipe with a cloth slightly dampened with warm water to remove any remaining residue. Finally, carefully dry the seals to avoid moisture stagnation.
Mistakes to avoid
Some common kitchen products may seem effective but risk damaging the rubber over time. Pure bleach, for example, tends to deteriorate the material, making it porous and less elastic. Abrasive sponges should also be avoided because they can scratch the surface and create microscopic cracks where dirt accumulates more easily. Another frequent mistake is leaving the seals damp after cleaning: the residual humidity favors the formation of the mold you were trying to eliminate.
A preventive advice
To keep the seals soft and functioning for longer, a small gesture every few months is enough: pass a very thin film of Vaseline over the rubber. This simple measure preserves the elasticity of the material, prevents it from drying out and cracking, and significantly extends the life of the gaskets over time.
How to understand if the gasket needs to be replaced
Even with the best care, seals wear out over time. To understand if they are still doing their job well, there is a very simple test: close the refrigerator door on a sheet of paper and then try to remove it. If the sheet slides off without resistance, it means the gasket is no longer sealing properly and it may be time to consider replacing it.
Keeping seals clean is not just a matter of hygiene. Accumulated dirt can compromise the perfect adhesion of the rubber to the door, favoring dispersion of cold and higher energy consumption. Regular cleaning therefore helps to preserve the efficiency of the appliance and prolong its life over time.
You might also be interested in:
