
If the kitchen hood is ruined or the model you have chosen does not convince you, today we offer you 3 do -it -yourself solutions to renew it with more or less permanent interventions: from the realization of a wooden cover to painting, to the coating. Choose the idea you prefer and put it to the test!
Wooden coverage
This DIY project naturally requires a certain familiarity with DIY because it is necessary to build a customized structure to be fixed around the hood. You can use wooden boards, panels or strips, adapting them to the size and shape of the hood, and fix everything with screws or brackets to guarantee stability and safety. Once completed, finish the coverage with paint, impregnating or leave it natural for a rustic and warm effect.
Coat with vinyl sheets
Clean the hood carefully by removing dust and fat to ensure good adhesion of the adhesive vinyl, after choosing the one most suitable for the surface to be covered (made advice from a specialized dealer). Apply it starting from above, smoothing it down and outwards to eliminate any air bubbles. The vinyl, which is flexible, easily adapts to the corners and can be overlapping in a discreet way. Finish by cutting precisely around buttons, air intakes or other elements, using a cutter or cutting plotter to obtain a clean result.
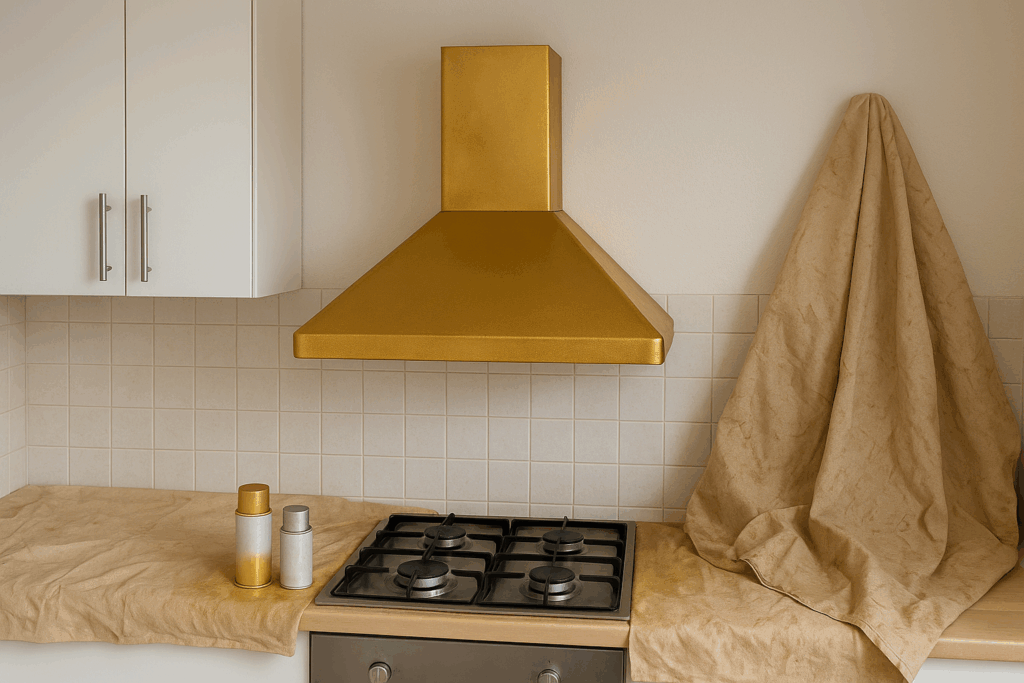
Paint it
Another idea to renew the hood is to paint it: the video tutorial of Debbie Tucker | Designer He guides you step by step in the procedure. First of all, it is important to clean it carefully, eliminating all traces of dirt and fat. Only after you can move on to the painting phase, using a spray paint of the color you prefer.
The paint used by Debbie Tucker | Designer It is a solvent -based and offers a metal finish, polished or satin. We advise you to contact a retailer specialized in paints to choose the most suitable product for the material of your hood, thus ensuring an optimal result.