
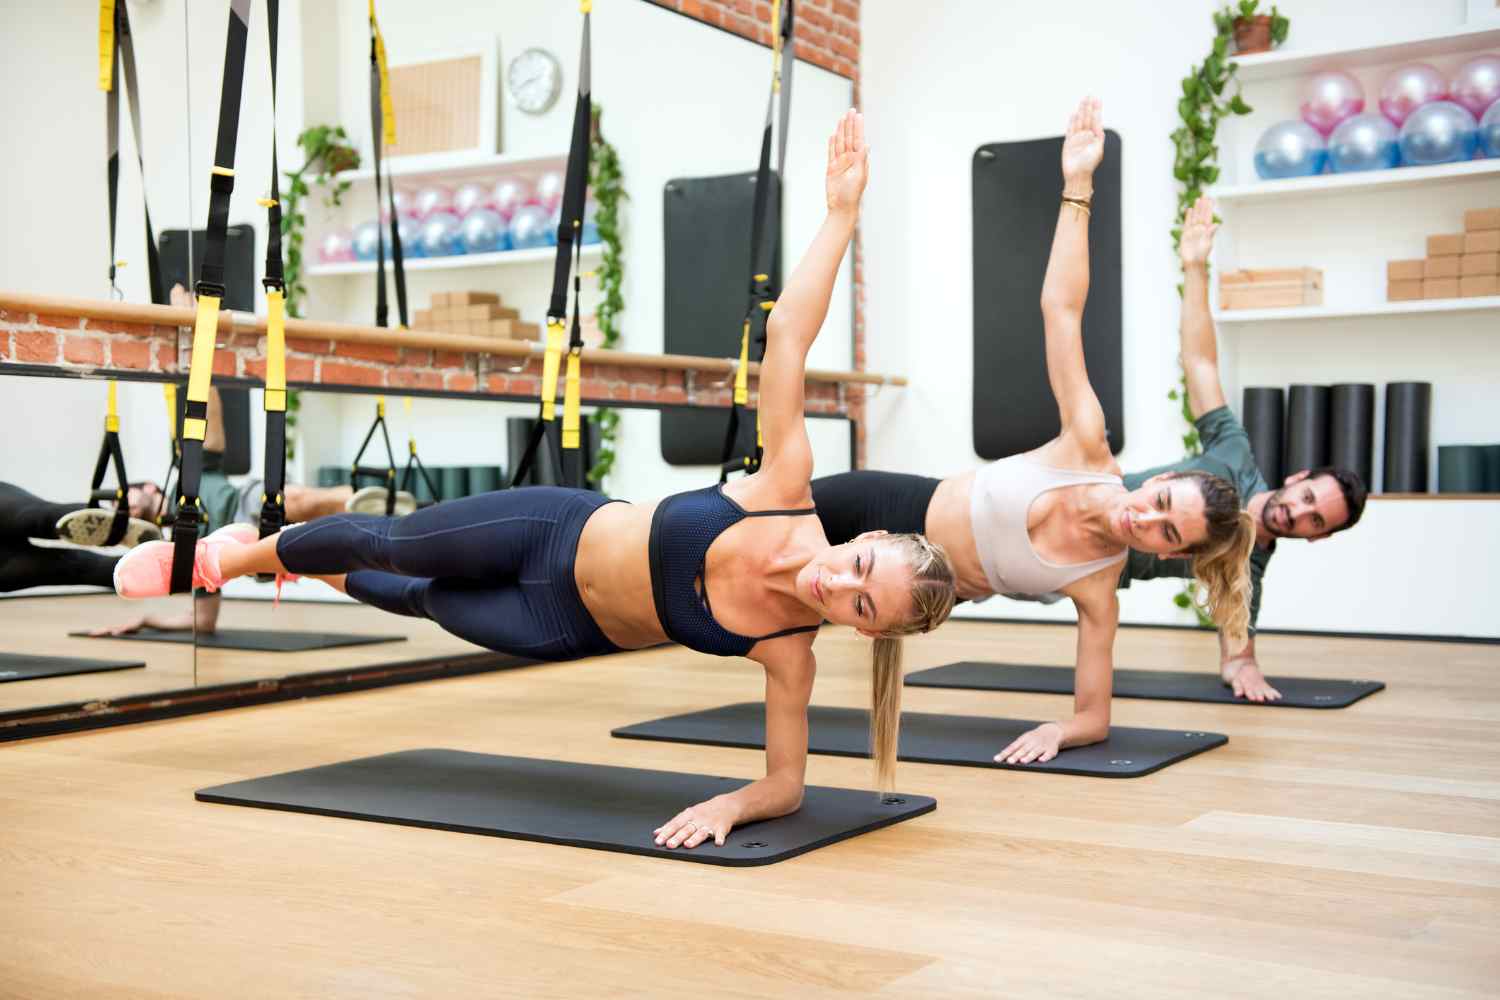
Bored of always doing the classic plank? The ideal solution is to try the Copenhagen plank; what is it about? It’s a side plank, but in its advanced version.
The Copenhagen plank is a variation of the side plank, in which one leg is placed on a bench and the other leg is lifted off the floor. Let’s find out how it is done, what the benefits are and the mistakes to avoid.
Copenhagen plank: what is it
The side plank involves placing your body on one side, one forearm and one foot, with the other foot on top of the other. This is a great core and shoulder exercise, with a specific focus on your obliques, which are the muscles that run along the side of your core.
The Copenhagen Plank, on the other hand, is quite similar to this but allows you to also work on the inner and outer thighs, i.e. the adductors and abductors respectively.
What is the Copenhagen plank for and the muscles involved
This exercise helps build strength in the inner thigh and abdominal muscles, which are critical for movements such as walking, running, bending and lifting.
The muscles involved are the adductors and obliques, but they also work the shoulders and other core and hip muscles, including the glutes, which play a supporting role in the exercise.
Who can do the Copenhagen plank? The Copenhagen plank is an advanced exercise and should not be performed if you cannot do the side plank. Additionally, it is important to consult your doctor or physical therapist before trying this exercise, especially if you have a leg injury.
How long to hold the Copenhagen plank?
There is no duration that is valid for everyone, but a good starting point for beginners is to hold the position for 15-20 seconds on each side, performing 2-3 series. As your strength and endurance increases, you can gradually build up to 30-45 seconds per side. It is preferable to maintain correct form for a few seconds rather than “cheating” on the posture in order to resist longer: the quality of the execution matters more than the duration.
How to do a Copenhagen plank
Let’s start by understanding how to perform a Copenhagen plank in its perfect form. Remember that for correct execution, you will need a gym bench, or a chair or footrest. Here’s how to do it:
Benefits of the Copenhagen plank
1. Strengthen your adductors
The adductors are a group of muscles on the inside of the thighs, responsible for pulling the leg towards the center of the body. They also help stabilize your pelvis as you move. These muscles play an essential role in many exercises, such as squats and lunges.
2. Helps build core strength and stability
Your core muscles, especially your obliques, help maintain the position of your pelvis and torso when you move. They are especially important for preventing lateral bending of the spine. Training your core with exercises like the Copenhagen plank allows you to build strength and stability in your core, which will protect your back and improve your performance in a variety of movements.
3. Helps prevent injuries
Groin strains and injuries are very common among athletes, especially those who play sports that involve running, kicking, or changing direction. Research suggests that increasing adductor strength with the Copenhagen plank can reduce the risk of injury. A small study from June 2022 onInternational Journal of Environmental Research and Public Health found that an eight-week exercise protocol focusing on a variation of the Copenhagen plank reduced the risk of groin injuries in young people.
Why is it called Copenhagen plank?
The name of this exercise is not accidental: it derives from the University of Copenhagen, where a group of researchers studied it and made it popular as a tool for preventing groin injuries, especially among footballers. It is no coincidence that today the Copenhagen plank has become part of the training protocols of many professional football teams precisely because of its effectiveness in strengthening the adductors, muscles that are particularly stressed (and often injured) in this sport.
Common Copenhagen plank mistakes (and how to fix them)
Among the most common mistakes that many athletes make when performing a Copenhagen plank, we highlight:
- rotate your shoulders and torso: it’s important to keep your entire body facing forward when doing Copenhagen planks. Don’t let your shoulders or hips rotate forward or backward. Focus on keeping your posture upright and shoulders straight.
- Hips sag: Another common mistake is letting the hips sag or sag. You should maintain a straight line from the top of your shoulders to the top of your foot. To correct this mistake, actively move your hips away from the floor.
- bending the hips too much: one last mistake to watch out for is excessive bending of the hips. A proper Copenhagen plank requires full hip extension, meaning your hips remain in line with your shoulders.
How to make the Copenhagen plank easier
©deagreez/123rf
You can make the exercise easier by changing your body position; let’s find out how:
- with bent knee: There are several ways to perform a Copenhagen plank with bent knees. The simplest option is to bend both knees. Another alternative is to bend only one knee.
- Placing your feet on the ground: Placing your foot on the ground reduces some of the stress on your adductors. It’s a great way to get comfortable in the position before moving on to the full version.
How to make the Copenhagen plank harder
To make the exercise more difficult and feel your muscles working more, here are 2 tips:
- Weighted Copenhagen plank: You can add resistance with a weight in your upper hand. Use a dumbbell or kettlebell, so you have a good grip on the weight.
- Copenhagen plank on the floor: You can perform this progression of the Copenhagen plank on the floor. This variation is also ideal for people who don’t have access to a bench.
How to add the Copenhagen Plank to your workouts
The Copenhagen plank is a deceptively challenging exercise, and is best done slowly to avoid joint problems.
We suggest doing a classic lateral plank first, or you can work on strengthening your adductors using exercise machines, resistance bands, or other isolation exercises.
Start by using one of the simpler variations shared above. Find one that feels good, doesn’t put too much pressure on your joints, and allows you to maintain good form.
How many times a week do you do the Copenhagen plank?
To obtain concrete benefits without overloading the joints, it is advisable to include the Copenhagen plank in your training routine 2-3 times a week, avoiding performing it on consecutive days. This allows the adductor muscles, which are particularly stressed during exercise, to recover adequately between one session and another, reducing the risk of excessive fatigue or overtraining injuries.
Because this exercise is so challenging, it’s best done at the beginning of your workout when your muscles aren’t too tired, but you can also include it as part of your warm-up.
