
Printing is an ancient and magical gesture: leaving a mark, repeating it, transforming it into an image. When done with recycled materials, this gesture acquires an extra meaning, becoming a way to give new life to objects, to discover that even a simple waste can be transformed into art.
A carton of milk, an aluminum tray, corrugated cardboard, from all these materials you can create printing matrices, that is, small plates on which to draw, engrave or glue shapes which will then come to life on paper with colour. A fun and educational craft that children will really appreciate!
Tetra Pak packages
A Tetra Pak container, after being washed and cut to obtain a flat surface, shows a silver layer inside perfect for engraving. Children can draw on this surface using a empty pen or a blunt tip, applying light pressure: the engraved lines will remain visible and will serve as a matrix for printing.
Once the drawing is finished, just spread a little tempera on a tray or saucer, place the silver part of the Tetra Pak on the painting, and then immediately press on the sheet. The result will be a print that reproduces the engraved design, with the lines remaining white on the colored background.
Corrugated cardboard
Cardboard packaging hides beautiful textures. Cut them out and glue the different layers to create relief surfaces: hills, houses, trees, abstract figures. Once dry, the color is spread only on the protruding parts and printed. The difference compared to a “classical” matrix is that here the relief is three-dimensional and more material.
Tubes of tomato paste
The concentrate tubes, once empty and clean, can be engraved with a pen or a blunt tip to create simple patterns: lines, smileys, flowers or geometric symbols. Then you place the engraved tube on the tempera spread on a saucer, and immediately afterwards you press it onto paper or fabric: the drawing will appear as if by magic, ready to be repeated as many times as you want.
Aluminum trays
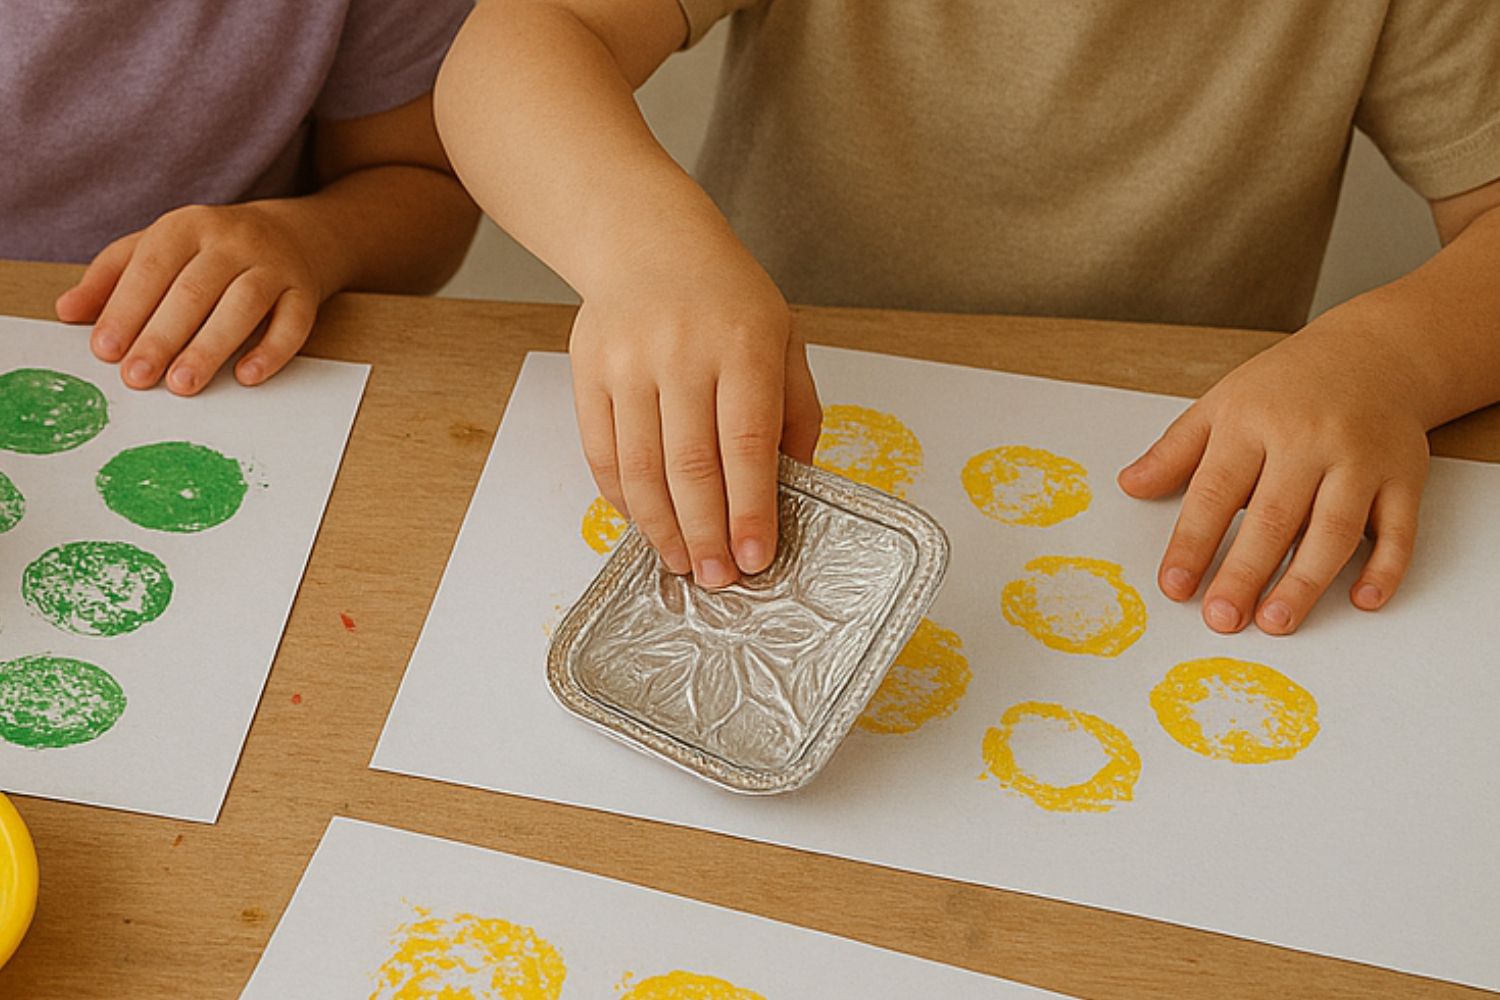
Small soft plates are obtained from food trays to be engraved with a pen. They are great for practicing simple lines and signs: a flower, a sun, a house. Just place the drawing on the tray, go over it with a pen and go over it again with the gouges to obtain a relief effect. At this point the tray can be dipped in color and used as a “stamp” to print paper or fabric.
Flower sponge
To create a printing matrix with green flower sponge, cut a piece of the desired shape, for example a square. Engrave the design on the surface with a pencil or toothpick, pressing lightly so as not to break the sponge. Then spread a little thick tempera with a brush or sponge, avoiding getting it too wet. Finally, place the matrix on the sheet and press with your hands to transfer the design: you will obtain a soft and material print.
